Steve`s Country
For a smile as wide as a country sunrise
Daily Pics #315.

Good morning everyone! Yesterday we enjoyed a fair bit of sunshine, though it was still chilly. Today we are back to clouds and we’re expecting a little more snow as well. Nothing serious though, and the temp is going to drop again tonight. It’s winter. But not much snow yet, only about 3 inches (7.5cm) on the ground right now. A little unusual but it happens sometimes. We have had years with very little snow until after Christmas. Then it snows and snows and doesn’t like to stop! Every winter is a little different it seems. Sometimes just small differences, other times bigger differences. Some winters can be very mild and others incredibly cold. Some winters have very little snow, others can give us more than 7 feet (2.2 meters) of snow.
Speaking of birds. It seems the rock doves have definitely won this time. No evening grosbeaks showed up yesterday, one male pine grosbeak showed up and was immediately chased away by the rock doves. He never came back. Six of the 15 redpolls also showed up 3 times and each time were chased away by the rock doves. They also never came back after the third time. And I spent way too much time chasing the rock doves. Sigh. I think they were getting lessons from the crows during the summer. I have never had so much trouble feeding birds. Oh well, new problems, new challenges and hopefully, new solutions. Though it’s likely too late to get the grosbeaks back now, but perhaps there are more in the area that are still looking for a nice place to eat for the winter. I hope so.
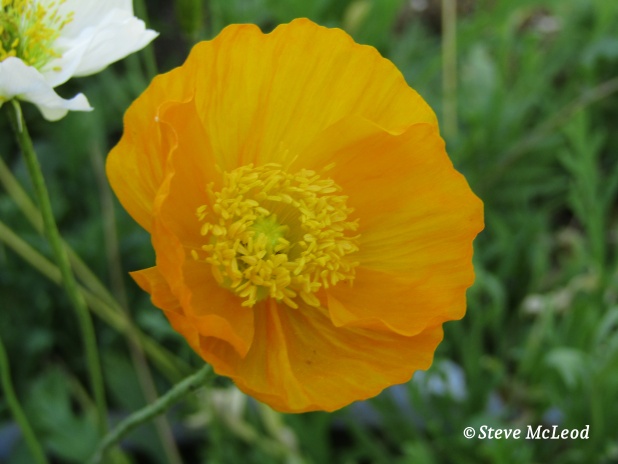
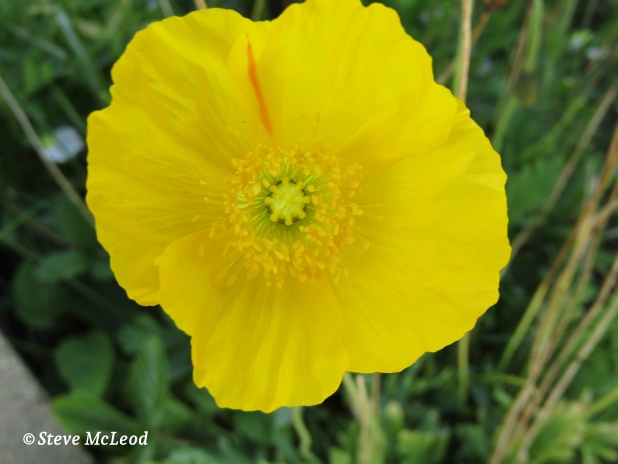
Meanwhile, let’s enjoy some nice bright and cheery flowers today. To start things off, a nice pink rose as our featured image. And then we have two different colors of Iceland poppies. I hope you all have a very wonderful Sunday and God bless!
Steve and Muffin.
©2020 Steve McLeod.
Steve’s DIY Project #2.

Hello everyone! Welcome to our second DIY project here at Steve’s Country. Actually this is just a reprint of my Christmas wreath project that I shared last year and since many of you were not here then I thought it would be okay to show this simple DIY project once again. I suppose this should really be number 3 since I also shared my simple idea for hiding some unsightly plastic totes that were sitting in a corner of my living room. That one didn’t really turn out as well as I wanted, but it does look better than having those totes sitting out in the open. So, today I will show my process in making this Christmas wreath. It really is very simple and doesn’t cost much to make, one of the best things about this project. And I like homemade, country look projects for any time of the year. So, let’s get started…
At the beginning;
I wanted to use mainly what was at hand, and make this lightweight. So I cut out 2 donut shaped pieces of cardboard, only because I didn’t have any cardboard thick enough to use just one piece. Watch the cat while cutting so no one gets hurt. Muffin always likes to help when I’m making things, that’s her in the corner of the picture. She ran off with one of my smaller pine cones, made a perfect toy is what she thought. Oh well. Then I glued the 2 pieces together and put a piece of wood on top to make sure it stayed flat while the glue dried. Worked perfectly.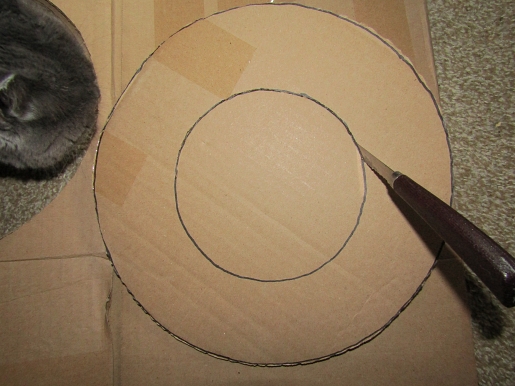

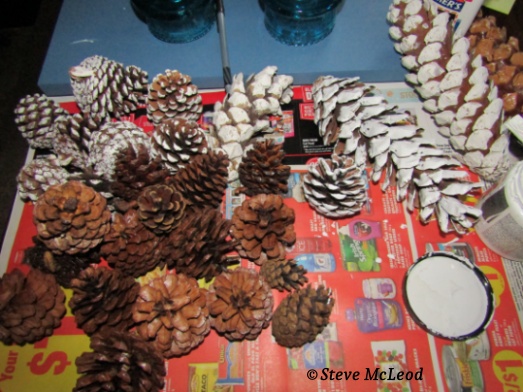
Next, while the glue was drying;
I got my pine cones together and painted some of them white with a fast drying latex paint. Unfortunately because I was unable to go out and get more pine cones I didn’t have enough small cones to use for filling in the smaller spaces. And with thousands of pine cones laying around along my forest path, I certainly didn’t feel like buying any. However, if you have no choice, they are available to purchase at many stores, including our Dollarama. The cinnamon scented ones are actually half the price of the natural.
Then we get the glue gun out;
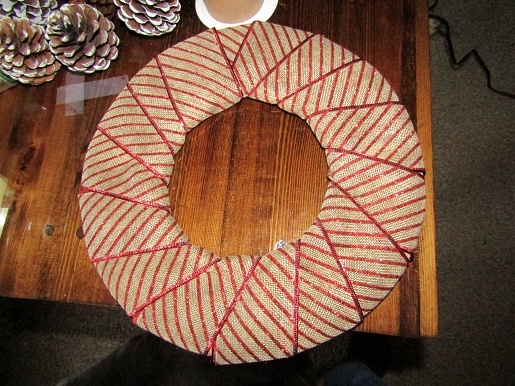
Along with everything else we want to use and start putting it all together. I use a heavy duty glue gun, not the hobby kind, and a stronger binding glue. I found some nice burlap ribbon with red stripes to wrap around the cardboard, makes it look a lot nicer, especially if there are any gaps since I didn’t have enough of the smaller cones. I just glued it down on the back, then wrapped it around the circle, just putting small dabs of glue in places so it stayed in place properly.
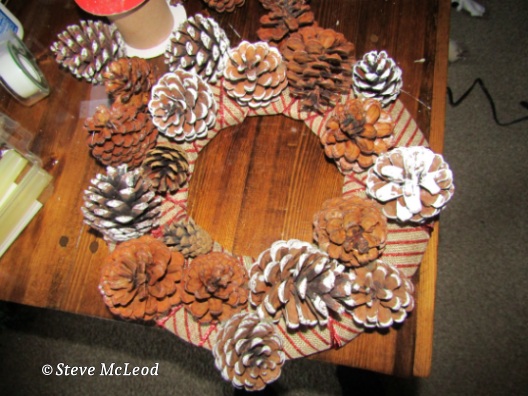
Now we get started with the pine cones;
I’m certainly not a professional at this sort of thing, but really, I don’t want it to look like it came from a store, otherwise I could just buy one. So now comes the addition of some pine cones gluing them in place with the glue gun, in no particular order, I prefer it that way, but you can put them on in any way you want.
And finally we add the extras;
Which includes some small decorations, like birds and balls, plus a couple mini wreaths. And I added some artificial green spruce branch tips for making it more authentic in its outdoor look with the pine cones. And, that’s it. I added a piece of twine tied on at the top to hang my wreath and there we have the finished product. As for size, mine is about 14 inches (35cm) across.

There we go, something nice and easy and that nice homemade appeal as well. Plus it really doesn’t take much time to make. I hope you have enjoyed this, have a wonderful weekend and God bless!
Steve and Muffin.
©2020 Steve McLeod.
